|
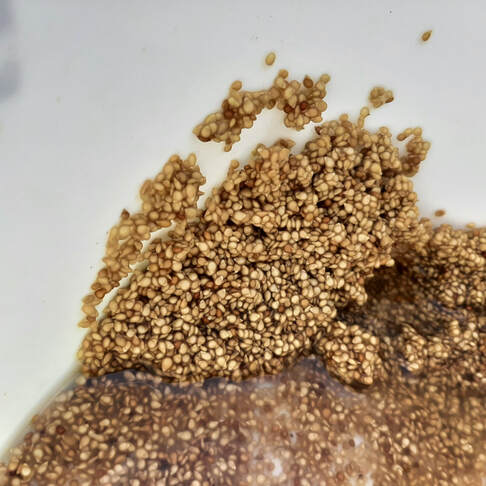
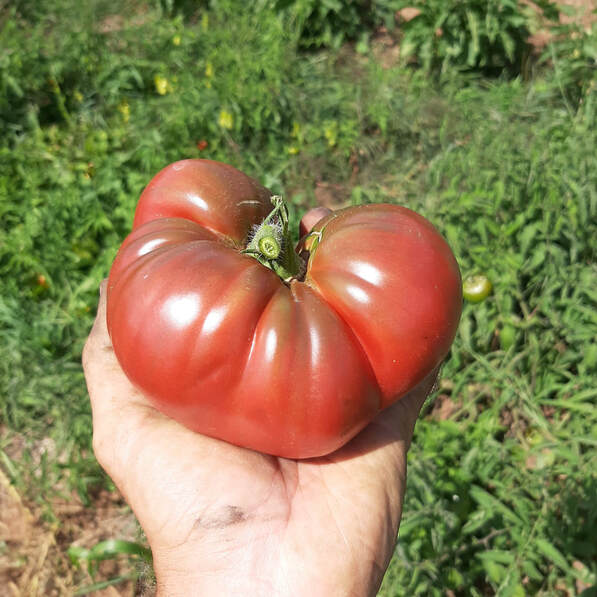
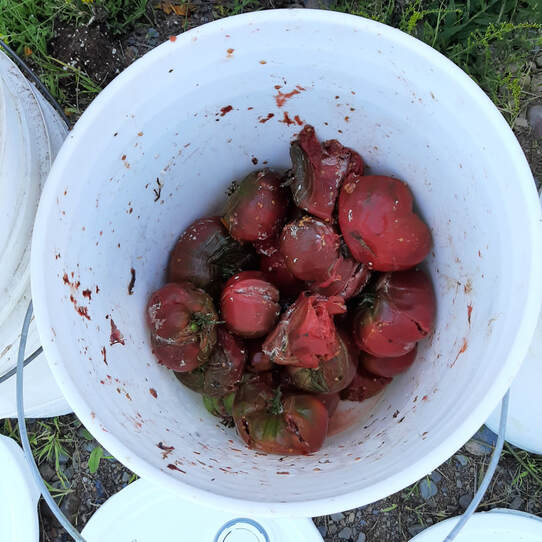
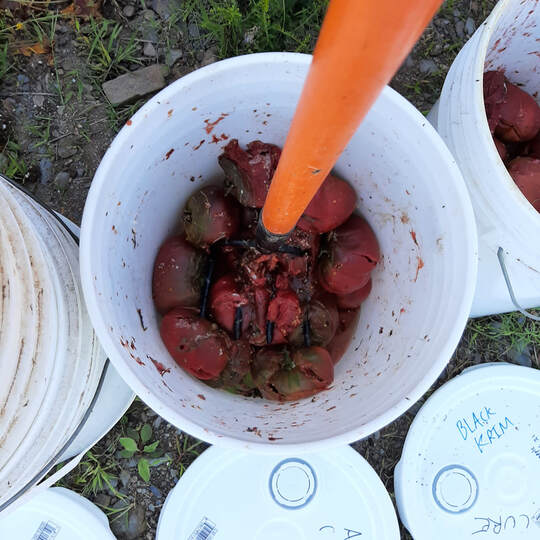
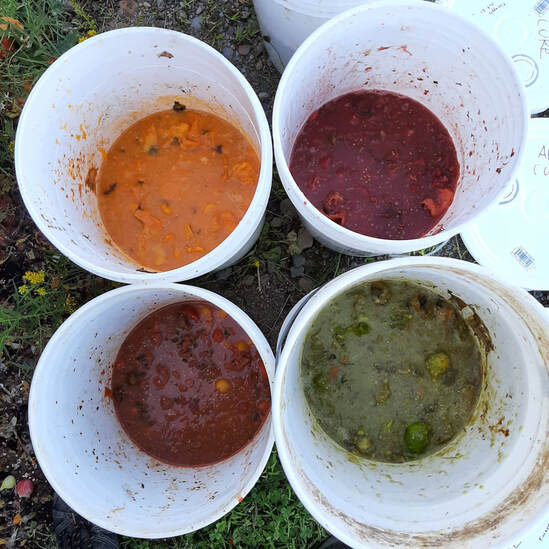
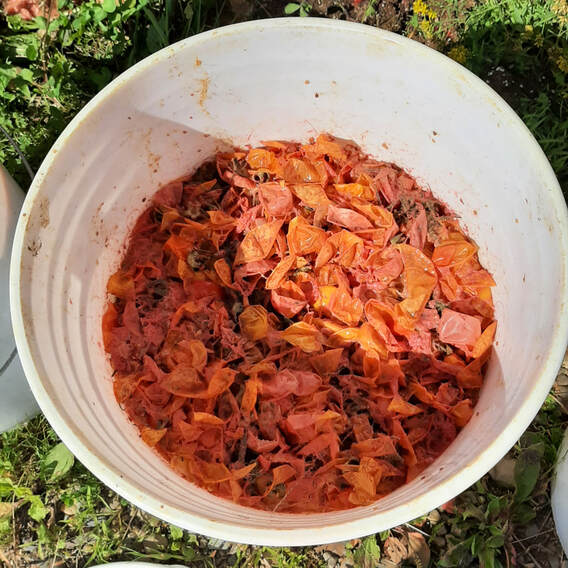
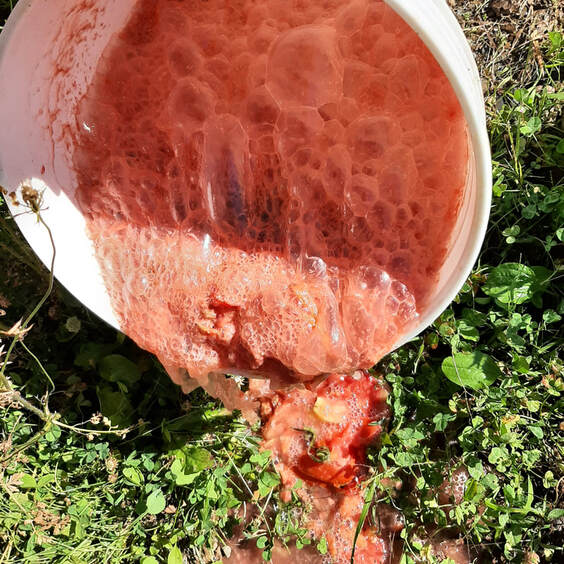
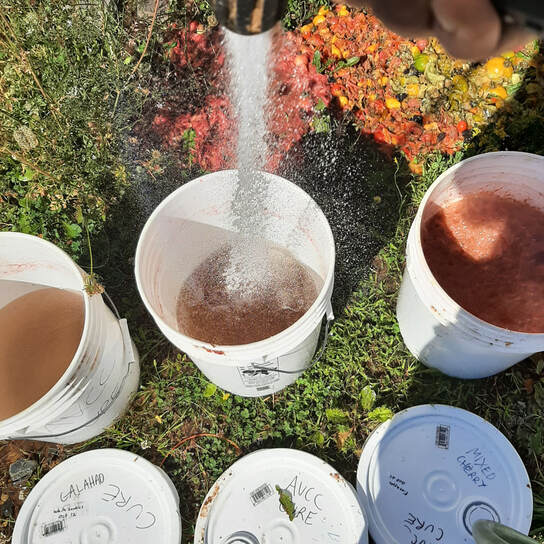
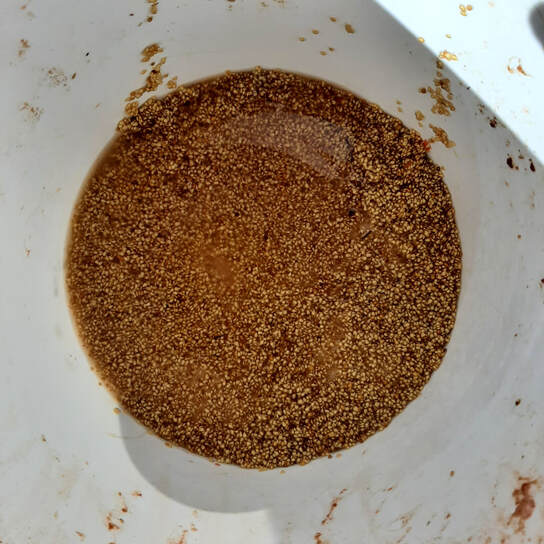
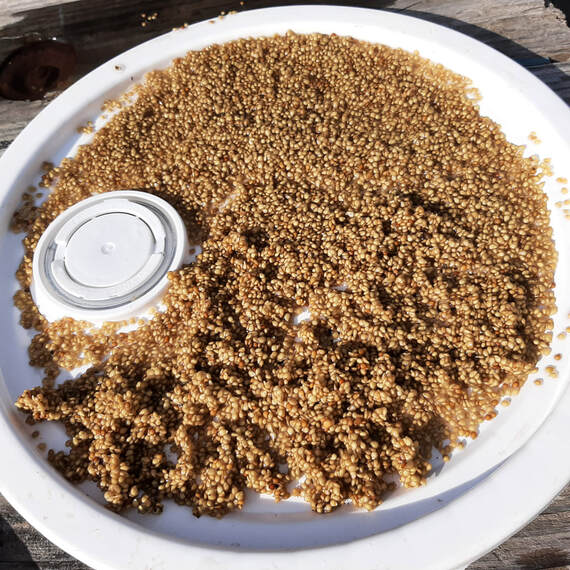
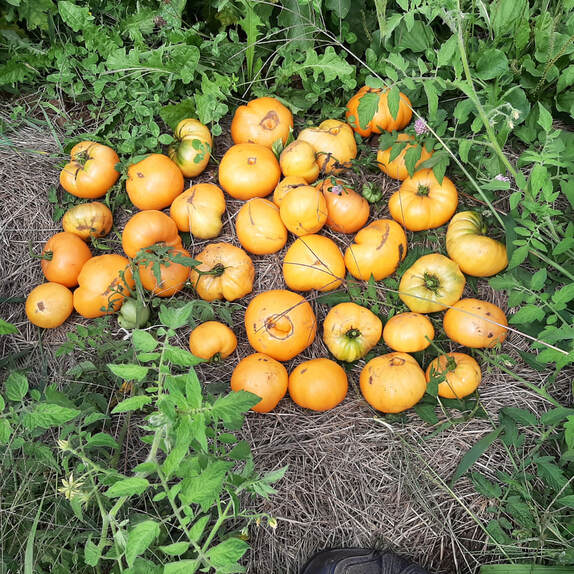
Saving tomato seeds is fun and easy! We wanted to share a step-by-step process with pictures so you can save your own tomato seeds if you wish. Knowledge is power! Step 1 - Select a ripe tomato. If you are growing your own tomatoes, leave it on the vine as long as you can - you will get more viable seeds. If you are buying a tomato from a local farm, look for soft tomatoes which deep, rich colours- these will be the most ripe. Tomatoes from the grocery store are not recommended for seed saving because they are harvested when green and then artificially ripened with ethylene gas - this means the seeds would not be mature. Step 2 - Place tomatoes in a container. This can be anything from a mason jar to a 5-gallon bucket, it just depends on the amount of tomatoes you are saving seeds from Step 3 - Squish the tomatoes! You can use anything from a hoe to your hands. The idea here is to break the skin and expose the seeds. You can remove the skins at this point if you wish as long as you've removed the seeds from them. This step is messy. Step 4 - Add water. After your tomatoes are mushed up and mostly liquid, add some water - atleast the same amount as the liquid tomatoes. Step 5 - Wait. Whenever you've eaten tomatoes before, you may have noticed the seeds each have a little gel around them. This gel needs to be removed for best results growing your seeds next season! Luckily the tomatoes have everything they need to do this themselves. All you need to do is wait for 24-48 hours and the tomatoes will naturally ferment the gel from around the seeds. Once the gel is dissolved away from the seeds, the viable (aka "growable") seeds will sink to the bottom of the container - if you are doing this in a glass container you will see this for yourself, if not you can reasonably assume that by 48 hours it will have happened. Fermentation is a smelly process so there will be a bit of an odour! You may want to let this happen outside. Step 6 - Pour off the mush. When you look at your tomatoes again you will see that all of the goop and skins and undeveloped seeds will have floated to the surface, your viable seeds will have sunk to the bottom of the container. You can now gently pour off the top layer of goopy water but make sure not to pour out your seeds! Step 7 - Rinse off seeds. Next you will want to keep adding water and pouring it off the seeds. Once you add the water each time, the seeds will rise in the water but just wait a moment and the seeds will sink again. The point of this is to wash off any remaining debris from the tomato seeds, the cleaner the seeds are, the better they will store for you. This may take 4 or 5 "flushes" and you are done when the water is clear. Step 8 - Dry Seeds. Once the seeds are clean, try to pour off as much of the remaining water as you can. Then you can lay out your seeds on a surface to dry! I find what works best for us is simply using a plastic lid to dry the seeds on. If you use paper towel the seeds can stick to the paper and it's not easy to remove the paper from them. You could also use an old cotton towel, the seeds will still stick to it but atleast you won't have paper stuck to them. Drying can take anywhere from a couple days to a week or two depending on temperature and humidity. Be sure to dry them either inside or somewhere mice can't get to them, mice love tomato seeds! Step 9 - Store your seeds. Once seeds are completely dry, keep your them in a cool, dry place out of direct sunlight. Paper bags or envelopes are preferable to let the seeds "breathe", however you can use plastic as well - just leave the top open for a couple weeks at first, even a little moisture could make them mold if you close it right away!
You now have your own saved tomato seeds that will be good for the next 4-6 years of growing! It feels very empowering to save your own seeds. It's something that most of our ancestors would have done every year. Now you know how to continue the tradition! Best of luck and happy growing!
0 Comments
|
AuthorOlde Furrow Farmers!! Archives
March 2024
Categories |
 RSS Feed